How to Flush DNS: Your Complete Guide
Complete guide to flushing DNS on Windows, Mac, Linux, routers, and mobile devices. Solve connection issues and protect your privacy fast.

Ever had a website refuse to load even though your internet works perfectly? Or maybe you keep seeing an old version of a webpage, no matter how many times you hit refresh? You might even get "website not found" errors for sites that clearly exist.
These frustrating problems often come from your Domain Name System (DNS) cache, and the solution is simpler than you think.
In this complete guide, you'll learn exactly what DNS flushing is, when you need to do it, and how to flush your DNS cache on every device and browser – whether you're using Windows, Mac, mobile devices, or even on your router.
What Does “Flush DNS” Mean?
Flushing your DNS cache means deleting all the saved website addresses stored on your device.
How it works: When you type "google.com" in your browser, DNS translates that friendly name into numbers (called an IP address) that computers use to find the actual location of that website. Your computer saves recent translations in something called a DNS cache.
Sometimes, this saved information gets old, corrupted, or even hijacked by hackers. When that happens, you need to flush (empty) your DNS cache to get fresh, accurate information.
Think of your DNS cache like the shortcuts on your computer desktop. They’re quick ways to open your favorite programs or files without digging through folders every time. But if the original file moves, changes, or gets replaced by something malicious, the shortcut won’t take you where you expect.
Flushing your DNS is like clearing out all those outdated shortcuts so your computer can make brand-new, accurate ones.
How DNS Cache Works Automatically
Your DNS cache has a built-in timer called Time-To-Live (TTL). This timer determines how long website addresses are stored – most websites set their TTL between 5 minutes and 24 hours.
When the timer expires, your computer automatically requests fresh information from DNS servers. Most of the time, this system works perfectly. But sometimes problems happen before the timer runs out - and that's when manual DNS flushing becomes necessary.
Why DNS Cache Gets Stuck
Your DNS cache can cause problems when:
- Websites change servers: When a website moves to a new hosting provider, your old cached address won't work
- Network changes: Switching internet providers, Wi-Fi networks, or using a VPN can cause conflicts
- Security attacks: Hackers can poison your DNS cache with fake addresses (called DNS spoofing)
- Corrupted data: Sometimes, cache files just get damaged and need refreshing
- ISP updates: Your internet provider might update their DNS servers
- Malware infection: Some viruses change your DNS settings to redirect you to malicious sites
When to Flush DNS Cache
You should flush DNS when experiencing these issues:
| Situation | Examples |
|---|---|
| Website Loading Problems |
- Sites won't load even though your internet works - Getting "server not found" or "DNS resolution failed" errors - Old versions of websites keep showing up despite refreshing - Some sites load normally while others don't work at all - Websites load extremely slowly or time out frequently |
| Security & Privacy Concerns |
- You suspect someone has tampered with your DNS settings - You want to clear your browsing history from local storage - After removing malware that may have changed DNS settings - When using public Wi-Fi networks that might be compromised |
| After Network Changes |
- Switching between different Wi-Fi networks - Changing DNS providers - Installing or configuring VPN software - Troubleshooting network connectivity issues - After system updates or network driver changes |
You DON'T need to flush DNS when:
- Your internet is working normally
- Websites are loading correctly
- You're just trying to speed up your internet (this won't help)
Regularly flushing your DNS isn’t necessary, but when problems strike, it can be a quick fix that restores your internet connection, protects your privacy, and ensures you’re getting the most up-to-date website data.
DNS Security Threats: Why Flushing Matters
🚩 DNS Spoofing Attacks
DNS spoofing (also called DNS poisoning) happens when cybercriminals trick your computer into storing fake website addresses. It's like someone changing the address in your GPS to lead you to the wrong destination.
Example: You try to visit your bank's website, but a hacker's fake DNS entry redirects you to an identical-looking fake site. When you enter your login details, the criminals steal your information.
🚩 Privacy Concerns
Your DNS cache stores a record of every website you visit. While it doesn't save passwords or personal details, it creates a detailed history of your browsing habits.
This information can be accessed by:
- Anyone with physical access to your device
- Network administrators monitoring DNS traffic
- Malware that reads your DNS cache
- Government agencies with legal access
Regularly flushing DNS helps protect your privacy by clearing this stored browsing history.
🛠️ How to Flush DNS Windows 10 & Windows 11
✅ Method 1: Command Prompt (Recommended)
- Press Windows key + R to open the Windows command prompt
- Type
cmdand press Ctrl + Shift + Enter (runs as administrator) - Type:
ipconfig /flushdns - Press Enter
- You'll see "Successfully flushed the DNS Resolver Cache"
✅ Method 2: PowerShell
- Right-click the Start button
- Select "Windows PowerShell (Admin)"
- Type:
Clear-DnsClientCache - Press Enter
✅ Method 3: Settings Menu
- Go to Settings > Network & Internet
- Click "Network reset"
- Click "Reset now"
- Restart your computer
🛠️ How to Flush DNS on macOS
- Launch Spotlight (Command+Space) and search “Terminal”.
- Type:
sudo dscacheutil -flushcache; sudo killall -HUP mDNSResponder - Press Enter.
- Type in your password when prompted, and press Enter.
You can also find the Terminal by following these steps:
- Open Finder.
- Click Applications.
- Click the Utilities folder.
- Open Terminal.
Flush DNS Commands for Different macOS Versions
If you’re running an older macOS version (Mojave or below), you will need to enter a different command string. Here’s a table outlining the corresponding command string for your specific operating system.
| MacOS Version | Command |
|---|---|
| macOS 15 (Sequoia), macOS 14 (Sonoma), macOS 13 (Ventura), macOS 12 (Monterey), macOS 11 (Big Sur), macOS 10.15 (Catalina) |
sudo dscacheutil -flushcache; sudo killall -HUP mDNSResponder |
| macOS 10.14 (Mojave), macOS 10.13 (High Sierra), macOS 10.12 (Sierra), OS X 10.11 (El Capitan) |
sudo killall -HUP mDNSResponder |
| OS X 10.10 (Yosemite) | sudo discoveryutil udnsflushcaches |
| OS X 10.9 (Mavericks), OS X 10.8 (Mountain Lion), Mac OS X 10.7 (Lion) |
sudo killall -HUP mDNSResponder |
| Mac OS X 10.6 (Snow Leopard) | sudo dscacheutil -flushcache |
| Mac OS X 10.5 (Leopard) | sudo lookupd -flushcache |
| Mac OS X 10.4 (Tiger) | lookupd -flushcach |
🛠️ How to Flush DNS on Linux
Ubuntu and Debian (Most Common)
✅ Method 1: Modern Ubuntu (18.04+)
- Press Ctrl+Alt+T to launch the Terminal window
- Type:
sudo systemd-resolve --flush-caches - Press Enter.
✅ Method 2: If Method 1 doesn't work
- Type:
sudo resolvectl flush-caches - Press Enter.
✅ Method 3: Older systems with dnsmasq
- Type:
sudo service dnsmasq restart - Press Enter.
✅ Method 4: Systems with nscd
- Type:
sudo service nscd restart - Press Enter.
-
sudo systemd-resolve --statistics-
sudo systemd-resolve --statisticsIf done successfully, your ‘Current Cache Size’ should have a value of 0.
Red Hat and CentOS
- Press Ctrl+Alt+T to launch the Terminal window
- Type one of the following commands:
sudo service NetworkManager restartsudo systemctl restart NetworkManager
- Press Enter.
🛠️ How to Flush DNS on Chrome
- Launch Google Chrome.
- Type the following address into your search bar:
chrome://net-internals/#dns - Click ‘Clear host cache’.
- Go to:
chrome://net-internals/#sockets - Click "Flush socket pools"
🛠️ How to Flush DNS on Firefox
- Launch Firefox
- Type the following address into your search bar:
about:networking#dns - Click ‘Clear DNS Cache’
🛠️ How to Flush DNS on Safari
- Launch Safari.
- Enable Developer menu: Safari > Preferences > Advanced > Show Develop menu
- Click Develop > Empty Caches
🛠️ How to Flush DNS on Microsoft Edge
- Launch Microsoft Edge.
- Type the following address into your search bar:
edge://net-internals/#dns - Click ‘Clear host cache’.
🛠️ How to Flush DNS on Android
Android doesn't have a direct "flush DNS" button, but these methods achieve the same result:
✅ Method 1: Restart Network
- Go to Settings > Wi-Fi
- Tap your connected network
- Tap "Forget"
- Reconnect to the network
✅ Method 2: Airplane Mode
- Turn on Airplane Mode for 30 seconds
- Turn it back off
If Google Chrome is your default web browser, it’s recommended that you also flush its DNS cache on your mobile device using the steps outlined in the previous section.
🛠️ How to Flush DNS on iOS (iPhone & iPad)
Like Android, iOS doesn't have a direct flush option but you can do the following:
✅ Method 1: Restart Device
- Hold the power and the volume button together
- Slide to power off
- Turn back on after 30 seconds
✅ Method 2: Airplane Mode
- Turn on Airplane Mode for 30 seconds
- Turn it back off
✅ Method 3: Network Settings Reset (Last Resort)
- Go to Settings > General > Reset
- Tap "Reset Network Settings"
- Enter your passcode
- Confirm the reset
If Safari is your default web browser, it’s recommended that you flush its DNS cache on your mobile device using the steps outlined in the previous section.
🛠️ How to Flush DNS on a Router
Sometimes the problem isn't your device, but your router's DNS cache.
✅ Method 1: Power Cycle (Simple Reset)
- Unplug your router's power cable
- Wait 30 seconds
- Plug it back in
- Wait for full startup (2-3 minutes)
✅ Method 2: Admin Panel Reset
- Open a web browser
- Go to your router’s IP address
- Log in with admin credentials
- Look for DHCP, Network, or DNS settings
- Find options like Release/Renew, Clear DNS Cache, or Restart DNS
- Apply the changes
Preventing Future DNS Problems
🛡️ 1. Use Reliable DNS Servers
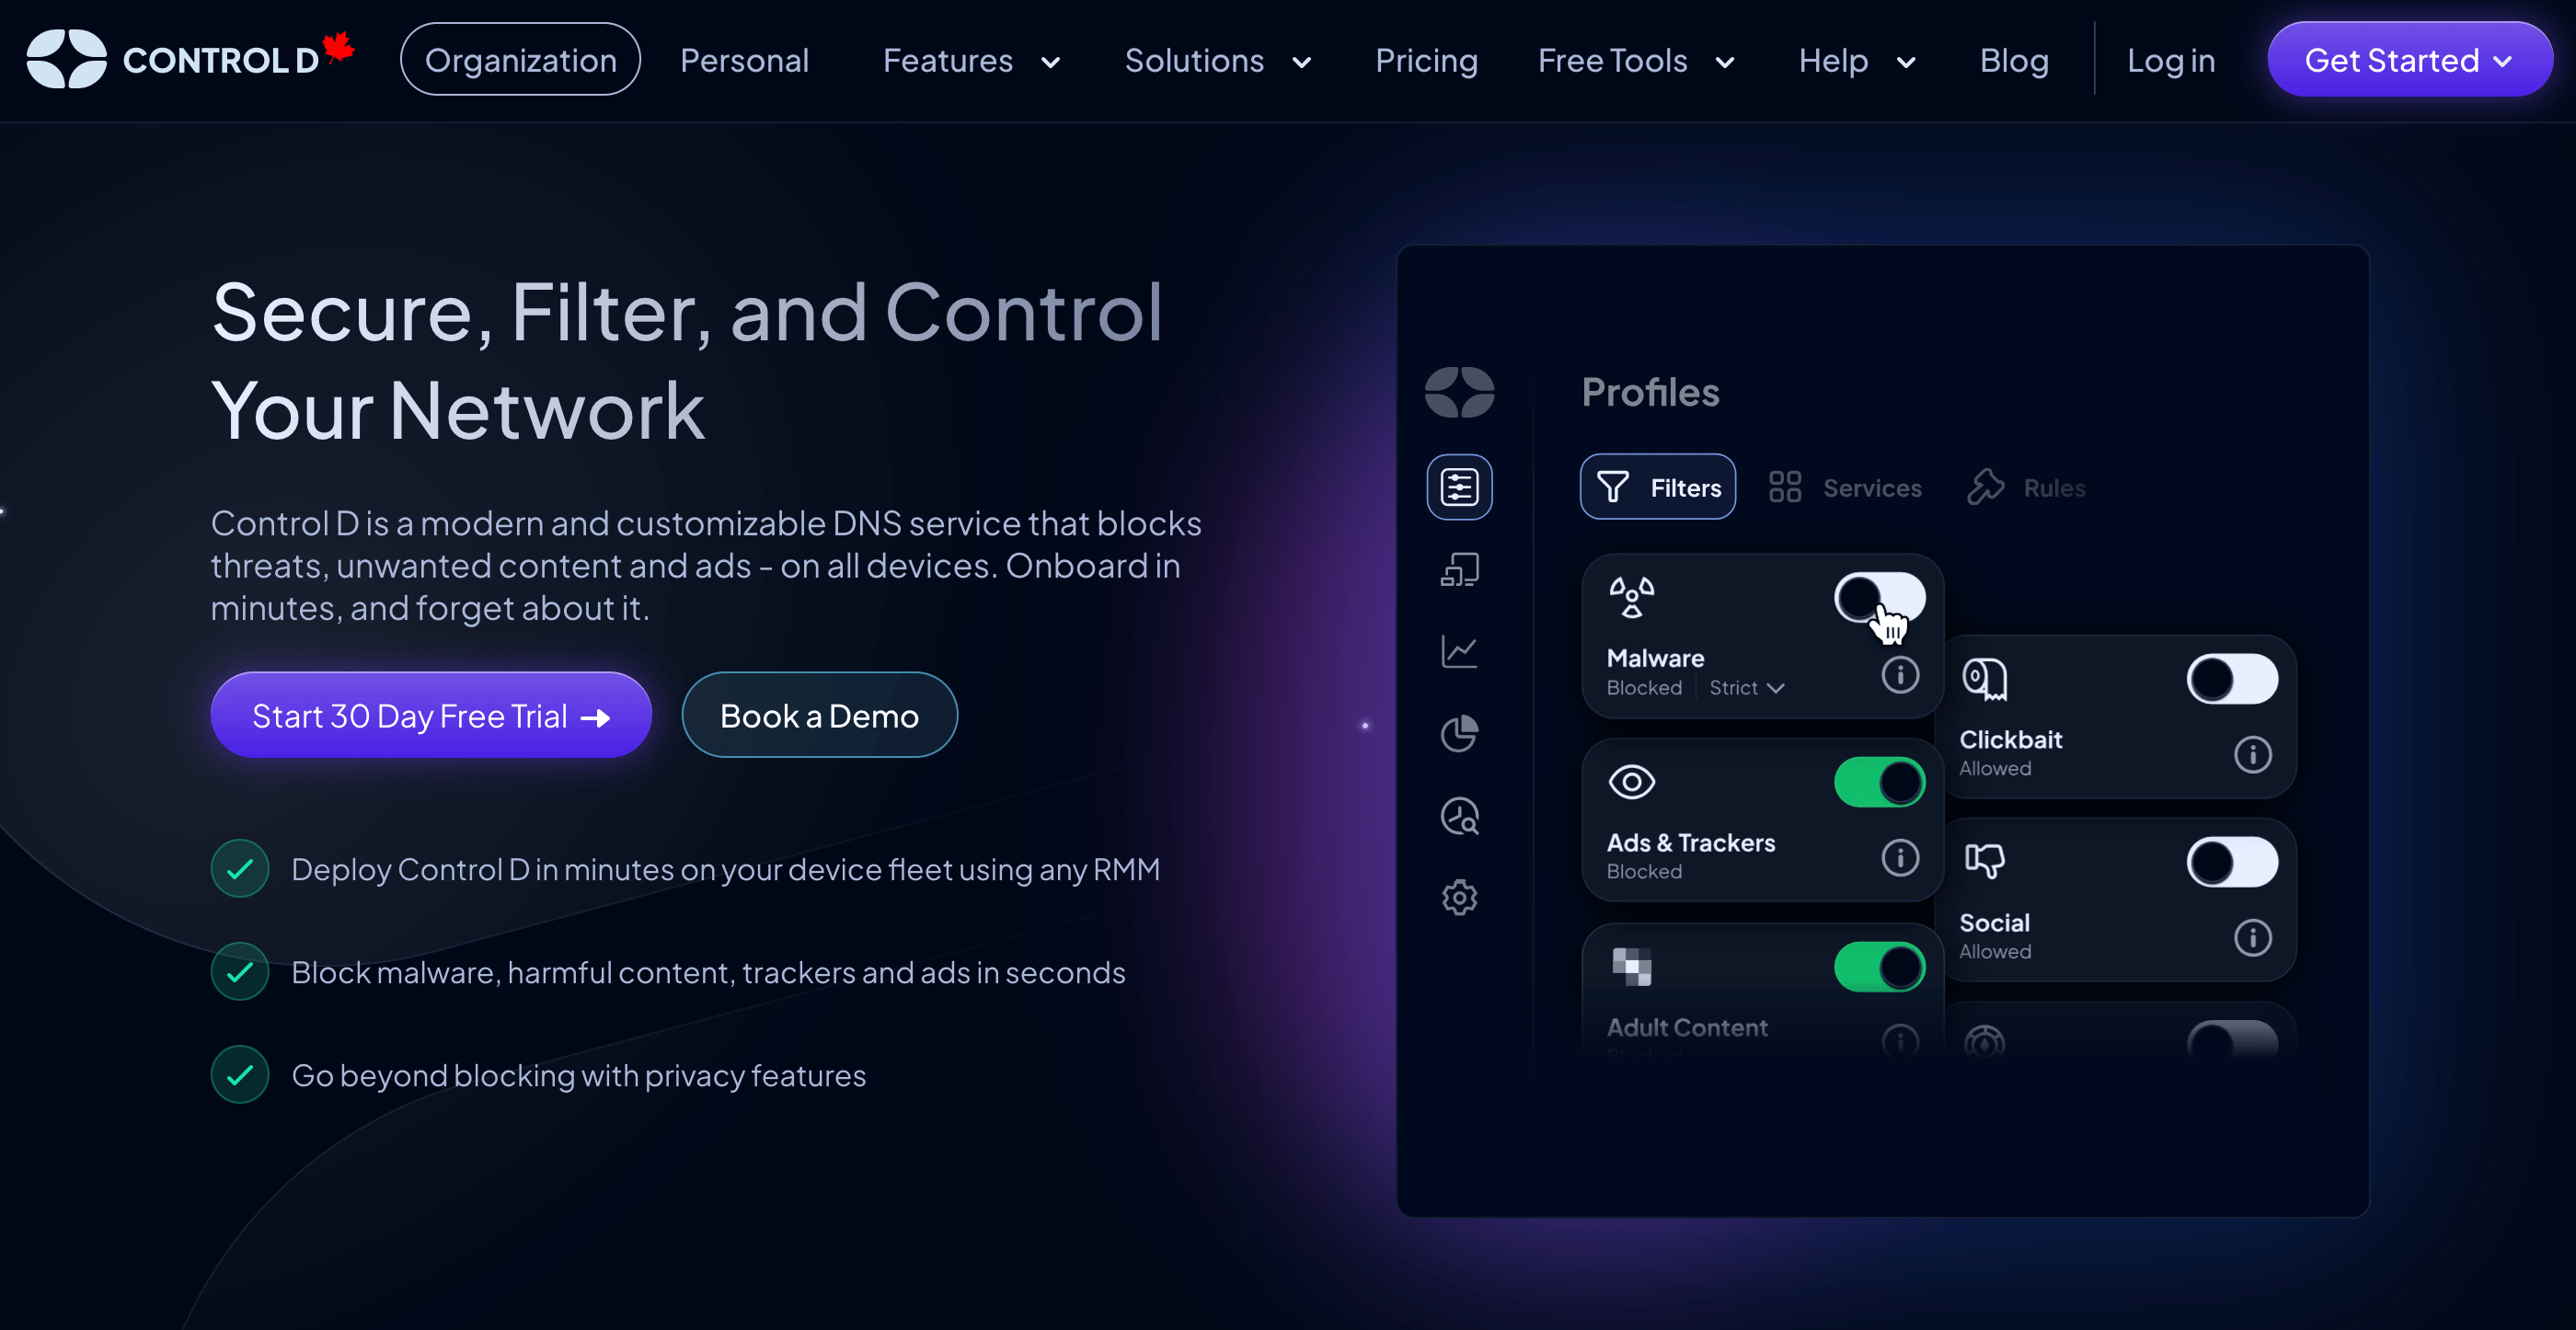
Don't rely on your ISP's DNS servers. Switch to providers like Control D for better security, privacy, and reliability.
Control D offers free DNS resolvers with a variety of pre-built filters blocking ads, trackers, malware, and more, so you can choose the setup that best fits your needs.
🛡️ 2. Keep Your System Updated
Regular system updates often include DNS-related security fixes.
🛡️ 3. Use DNS-over-HTTPS (DoH)
Modern browsers support encrypted DNS queries, which prevent tampering:
- Chrome: Go to Settings > Privacy and Security > Security > Use Secure DNS
- Firefox: Go to Settings > General > Network Settings > Enable DNS over HTTPS
🛡️ 4. Avoid Public WiFi for Sensitive Tasks
Public networks are more vulnerable to DNS poisoning attacks.
🛡️ 5. Regular Security Scans
Run scans regularly to catch malware that might modify DNS settings.
Final Thoughts
Whether you’re troubleshooting connectivity issues, preventing security threats, or simply ensuring your browsing habits remain private, knowing how and when to flush DNS is crucial.
It’s a seamless process, and the best part is that it will only take a few minutes. Simply follow the steps in this guide to ensure your DNS cache is always up-to-date and functioning smoothly.

Frequently Asked Questions (FAQ)
Is It Safe to Flush Your DNS?
Yes, flushing your DNS cache is completely safe. It simply removes stored website addresses, forcing your computer to get fresh information. Think of it like emptying your recycle bin, you're just clearing out temporary files.
How Often Should You Flush DNS?
There's no set schedule. Flush your DNS when you experience problems or want to clear your browsing history from the cache. Some privacy-conscious users do it weekly, while others only do it when troubleshooting.
Does Flushing DNS Speed Up My Internet?
Although flushing DNS can solve connectivity issues, it won’t miraculously speed up your internet. However, it may improve your user experience by removing outdated or corrupted entries from your cache.
How Do I Clear My DNS Cache?
Clearing your DNS cache is the same as flushing it, with both terms being used interchangeably. Follow the steps outlined in this article to clear your DNS cache.
What's the Difference Between Flushing DNS and Clearing Browser Cache?
DNS cache stores website addresses at the system level, while browser cache stores website files (images, scripts, etc.) within your browser. Both can cause loading issues, but they're separate systems.